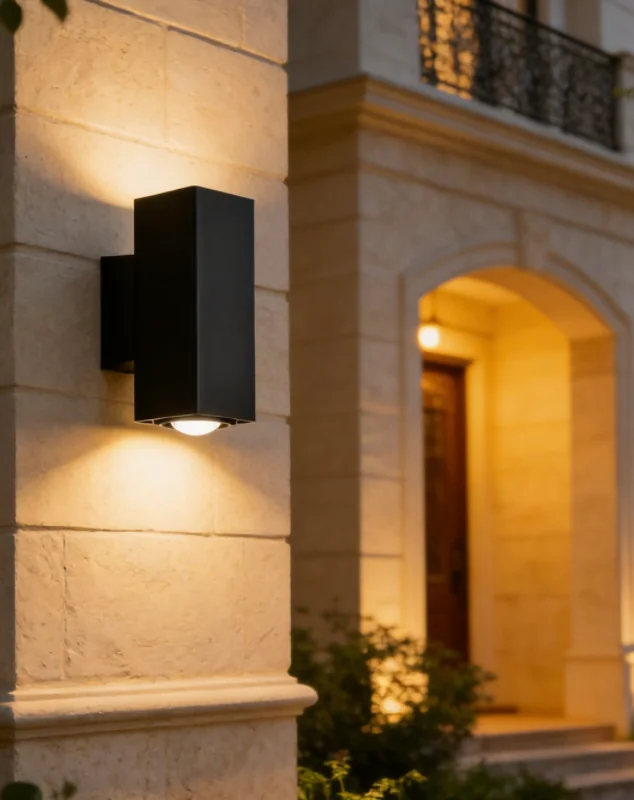
A motion-activated fixture is only as useful as its calibration. Set the sensitivity too high, and a light installed near a driveway may trigger every time a leaf blows past or a car drives down the street. Set it too low, and the same fixture might fail to notice a person walking up to the front door at night. For homeowners, property managers, and installers alike, getting the sensitivity zone right is usually a matter of small, deliberate adjustments rather than guesswork. Below are five practical areas to focus on when calibrating a motion sensor light outdoor unit.
- Understand How the Sensor Actually Detects Movement
Most outdoor motion fixtures rely on passive infrared (PIR) technology, which detects changes in infrared heat energy as a warm object — typically a person, vehicle, or animal — moves across the sensor’s field of view. The sensor doesn’t detect motion directly; it detects the difference in heat between the background and a moving object crossing zones within its detection cone.
This matters for calibration because PIR sensors are divided into multiple detection zones, arranged in a fan-like pattern. A person walking directly toward the sensor may cross fewer detection zones than someone moving laterally across its field of view. This is why the same sensitivity setting can behave differently depending on the direction of approach. Knowing this helps explain why two installations with identical settings may still perform differently on-site.
- Start With Mounting Height and Angle Before Touching the Dial
Before adjusting any sensitivity setting, it’s worth checking the physical placement of the fixture. Manufacturers generally recommend a mounting height in the range of 2 to 3 meters for most residential and light commercial applications, though this can vary by product. Mounting too high can reduce the sensor’s ability to register body heat effectively, while mounting too low may cause it to react to small animals or passing vehicles more frequently than intended.
The angle also affects how detection zones map onto the area being monitored. Tilting the sensor slightly downward toward the entry path, rather than pointing it straight out toward the street, generally narrows the field to the area that actually needs coverage — which reduces some false triggers before any electronic adjustment is made.
- Choosing a Motion Sensor Light Outdoor Built for Reliable Calibration
Not all fixtures offer the same starting point for calibration, which is part of why product selection matters as much as installation technique. As a manufacturer with 25 years of experience in outdoor fixture production, Keyida designs its motion sensor light outdoor products with practical field adjustment in mind, alongside the durability needed for continuous outdoor exposure.
One example from Keyida’s wall lamp range, the Outdoor Wall Lights Motion Sensor (A0696), illustrates the build standard commonly used across the company’s sensor-equipped fixtures. It uses a die-casting aluminum housing with a tempered glass cover, rated IP65 for dust and water resistance, and is powered by a CREE COB 2x5W LED chip paired with a KEDA driver. The unit accepts an input voltage range of 85–265V AC at 50/60Hz, measures Ø65 × W100 × H160 mm, and is backed by a 3-year warranty. Fixtures built to this specification are intended to hold their calibration settings consistently across temperature swings and weather exposure. These construction features are designed to support stable outdoor operation under changing weather conditions.
Operating in this space under the Keyida name, the company supports both standard catalog orders and custom outdoor lighting projects, including correlated color temperature adjustment and integration of radar or PIR sensors for commercial and residential applications.
- Adjust Sensitivity Gradually, Not All at Once
Once the fixture is mounted, most sensitivity (often labeled “SENS”) controls work on a dial or switch that spans a low-to-high range. A common approach is to start at a mid-range setting and test the fixture over a day or two before making further changes, rather than jumping straight to maximum sensitivity to “make sure it works.”
Small, incremental adjustments tend to produce more predictable results than large jumps. If the light is triggering too often, reducing sensitivity by a small increment and observing the effect over a few activations is generally more effective than switching from a high to a low setting in one step. This is particularly relevant in mixed environments — for example, a driveway that borders both a walkway and a street — where a single setting rarely satisfies every angle of approach equally well.
- Match the Time Delay to Actual Traffic Patterns
Sensitivity is only one part of the calibration process; the time delay setting, which controls how long the light stays on after motion is detected, plays an equally important role in how the fixture is perceived to perform. A short delay (around 10–30 seconds) suits areas with brief, infrequent activity, such as a side gate. A longer delay (1–5 minutes or more) tends to work better for entryways or areas where people linger, since a light that shuts off while someone is still present can be mistaken for a sensor malfunction rather than a timing setting.
It’s also worth revisiting these settings seasonally. Ambient temperature affects how PIR sensors register heat differentials — detection can behave differently between a cold winter night and a warm summer evening — so a setting that worked well in one season may benefit from minor readjustment as conditions change.
Bringing It Together
Calibrating a motion sensor light outdoor unit is rarely a one-time task. It generally involves a combination of correct physical placement, a fixture built with stable, weather-resistant components, and a willingness to make small adjustments based on how the light actually performs on-site over time. Selecting a fixture from a manufacturer that documents its build materials and specifications clearly — as is the case with Keyida‘s published product data — can make this process more straightforward, since installers and buyers have a clearer starting point for what the sensor and housing are designed to handle before fine-tuning begins.
