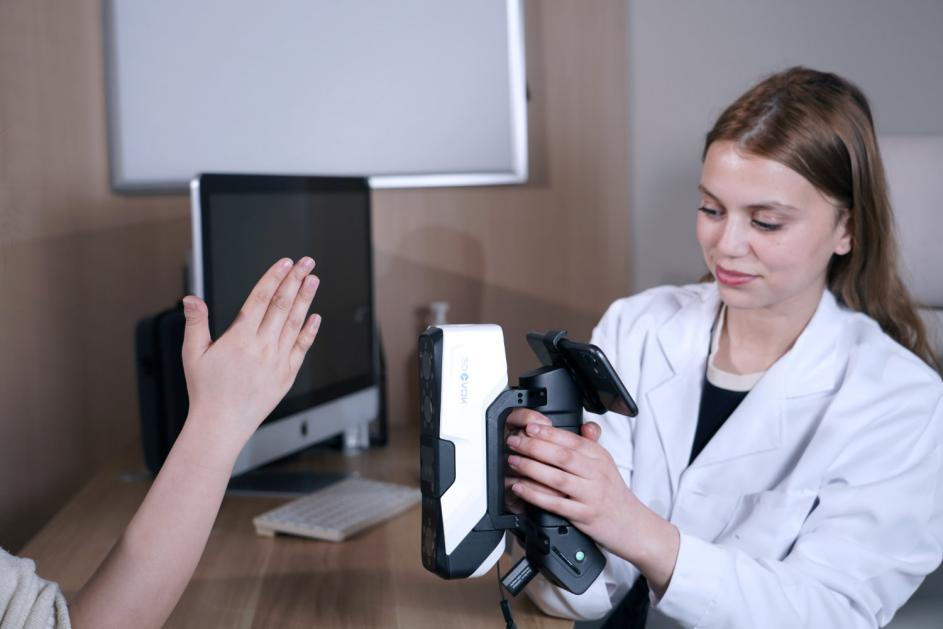
Being able to turn a real object into an exact digital model is very important in fields like reverse engineering, quality assurance, and cultural preservation. The 3D scanner‘s advanced technology makes this possible. This is not just a camera; it is a highly calibrated metrology tool that uses active light sources to measure the shape of a surface. Knowing the basic science behind these scanners—specifically, how they collect and process millions of spatial coordinates—explains why they are so important for accuracy and efficiency in today’s tech world.
The Basic Idea: Triangulation and the Point Cloud
Almost all non-contact optical scanners used in professional and semi-industrial settings, whether they use laser lines or patterned light, work on the basic idea of trigonometric triangulation. This method finds the three-dimensional coordinates (X, Y, and Z) of a point by carefully measuring the angles and distances in a fixed geometric setup.
In this configuration, one component—the light source—emits energy onto the object’s surface, while another component—a camera or sensor—observes the reflection from a predetermined offset position. Since the distance between the light source and the sensor is fixed and known, and the angles of projection and reception can be calculated, a triangle is formed. The software can quickly figure out the length of the third side of the triangle, which is the distance to the point on the object, by measuring the angle at the sensor. Every second, this distance measurement is done millions of times, which creates a dense, raw dataset known as a point cloud. The scanning software then turns this huge collection of coordinates into a usable polygon mesh by refining it.
Structured Light vs. Laser: How to Tell the Difference
Professional 3D scanner technology uses two different methods to do this triangulation. Each method has its own pros and cons for different materials and uses:
Scanning with structured light:
Structured light devices shine a pattern onto the object, like stripes, grids, or random dots. The lines or dots change shape when this pattern hits a surface that isn’t flat. The sensor picks up on this distortion, and the software uses the pattern’s geometric deviation to figure out the surface topography. The main benefit of this method is speed. It takes a picture of the whole field of view in one shot, which makes it great for scanning organic shapes, textured objects, or for use in fast 3D color scanner devices.
Scanning with Laser Triangulation:
Laser scanners shine a single laser point or line onto the object. A camera keeps track of where this line or point is on the surface as it moves. Structured light takes a picture of an area all at once, but laser systems usually scan one at a time. This method works very well for capturing dark, difficult, or highly reflective metal surfaces that are common in manufacturing. It can also often keep higher accuracy over a larger working distance. To work with the most materials, advanced industrial scanners often use both blue laser and infrared light sources.
How a 3D Color Scanner Works to Capture Reality
For use in digital art, cultural heritage, medical modeling, or product visualization, it’s just as important to capture the object’s texture and color as it is to capture its shape. The 3D color scanner works in this area.
The 3DeVOK MQ Color 3D Scanner uses infrared light sources, like a 22-line infrared laser and infrared structured light (speckle), to get geometric data. The scanner uses these invisible light sources to figure out the geometry, and it also has a high-resolution color camera at the same time. This camera takes color information and turns it into a 24-bit color texture map that shows how the object looks in real life. The software then accurately adds this color information to the 3D mesh model, which is geometrically correct. This makes a digital twin that looks like a real photo. This combined method makes sure that the digital asset is not only dimensionally accurate but also looks like the original, which is important for displaying and storing it in a virtual space. The infrared dual-mode method also lets you scan without markers and is safe because the light sources can’t be seen by the human eye.
3DeVOK’s Flexible Light Sources for Full Digitization
Companies like 3DeVOK focus on multi-source light technology to make sure their products can be used in a variety of professional settings, from art studios to factories. They don’t limit their 3D scanner solutions to just one method, so users can find the right tool for any material or size.
The color scanner from the brand mentioned above is a great example of this multi-mode approach. It uses both the 22-line infrared laser for scanning small objects and the wide-field infrared speckle for scanning larger areas, people, and organic shapes. This dual-mode infrared technology lets the scanner scan things that are anywhere from 5 centimeters to 5 meters in size with an impressive accuracy of up to 0.08mm and a speed of up to 4.5 million points per second. This company also makes devices that combine blue lasers, infrared lasers, and infrared speckle sources for industrial users who need the highest metrology standards. These devices work best on the hardest materials. This integrated approach is very important for professionals who need a single, flexible solution that can handle a wide range of digitization tasks.
